
Nayoki universal camera mount for skydiving helmets
Price range: 79,00 € to 89,00 € Tax Inc.


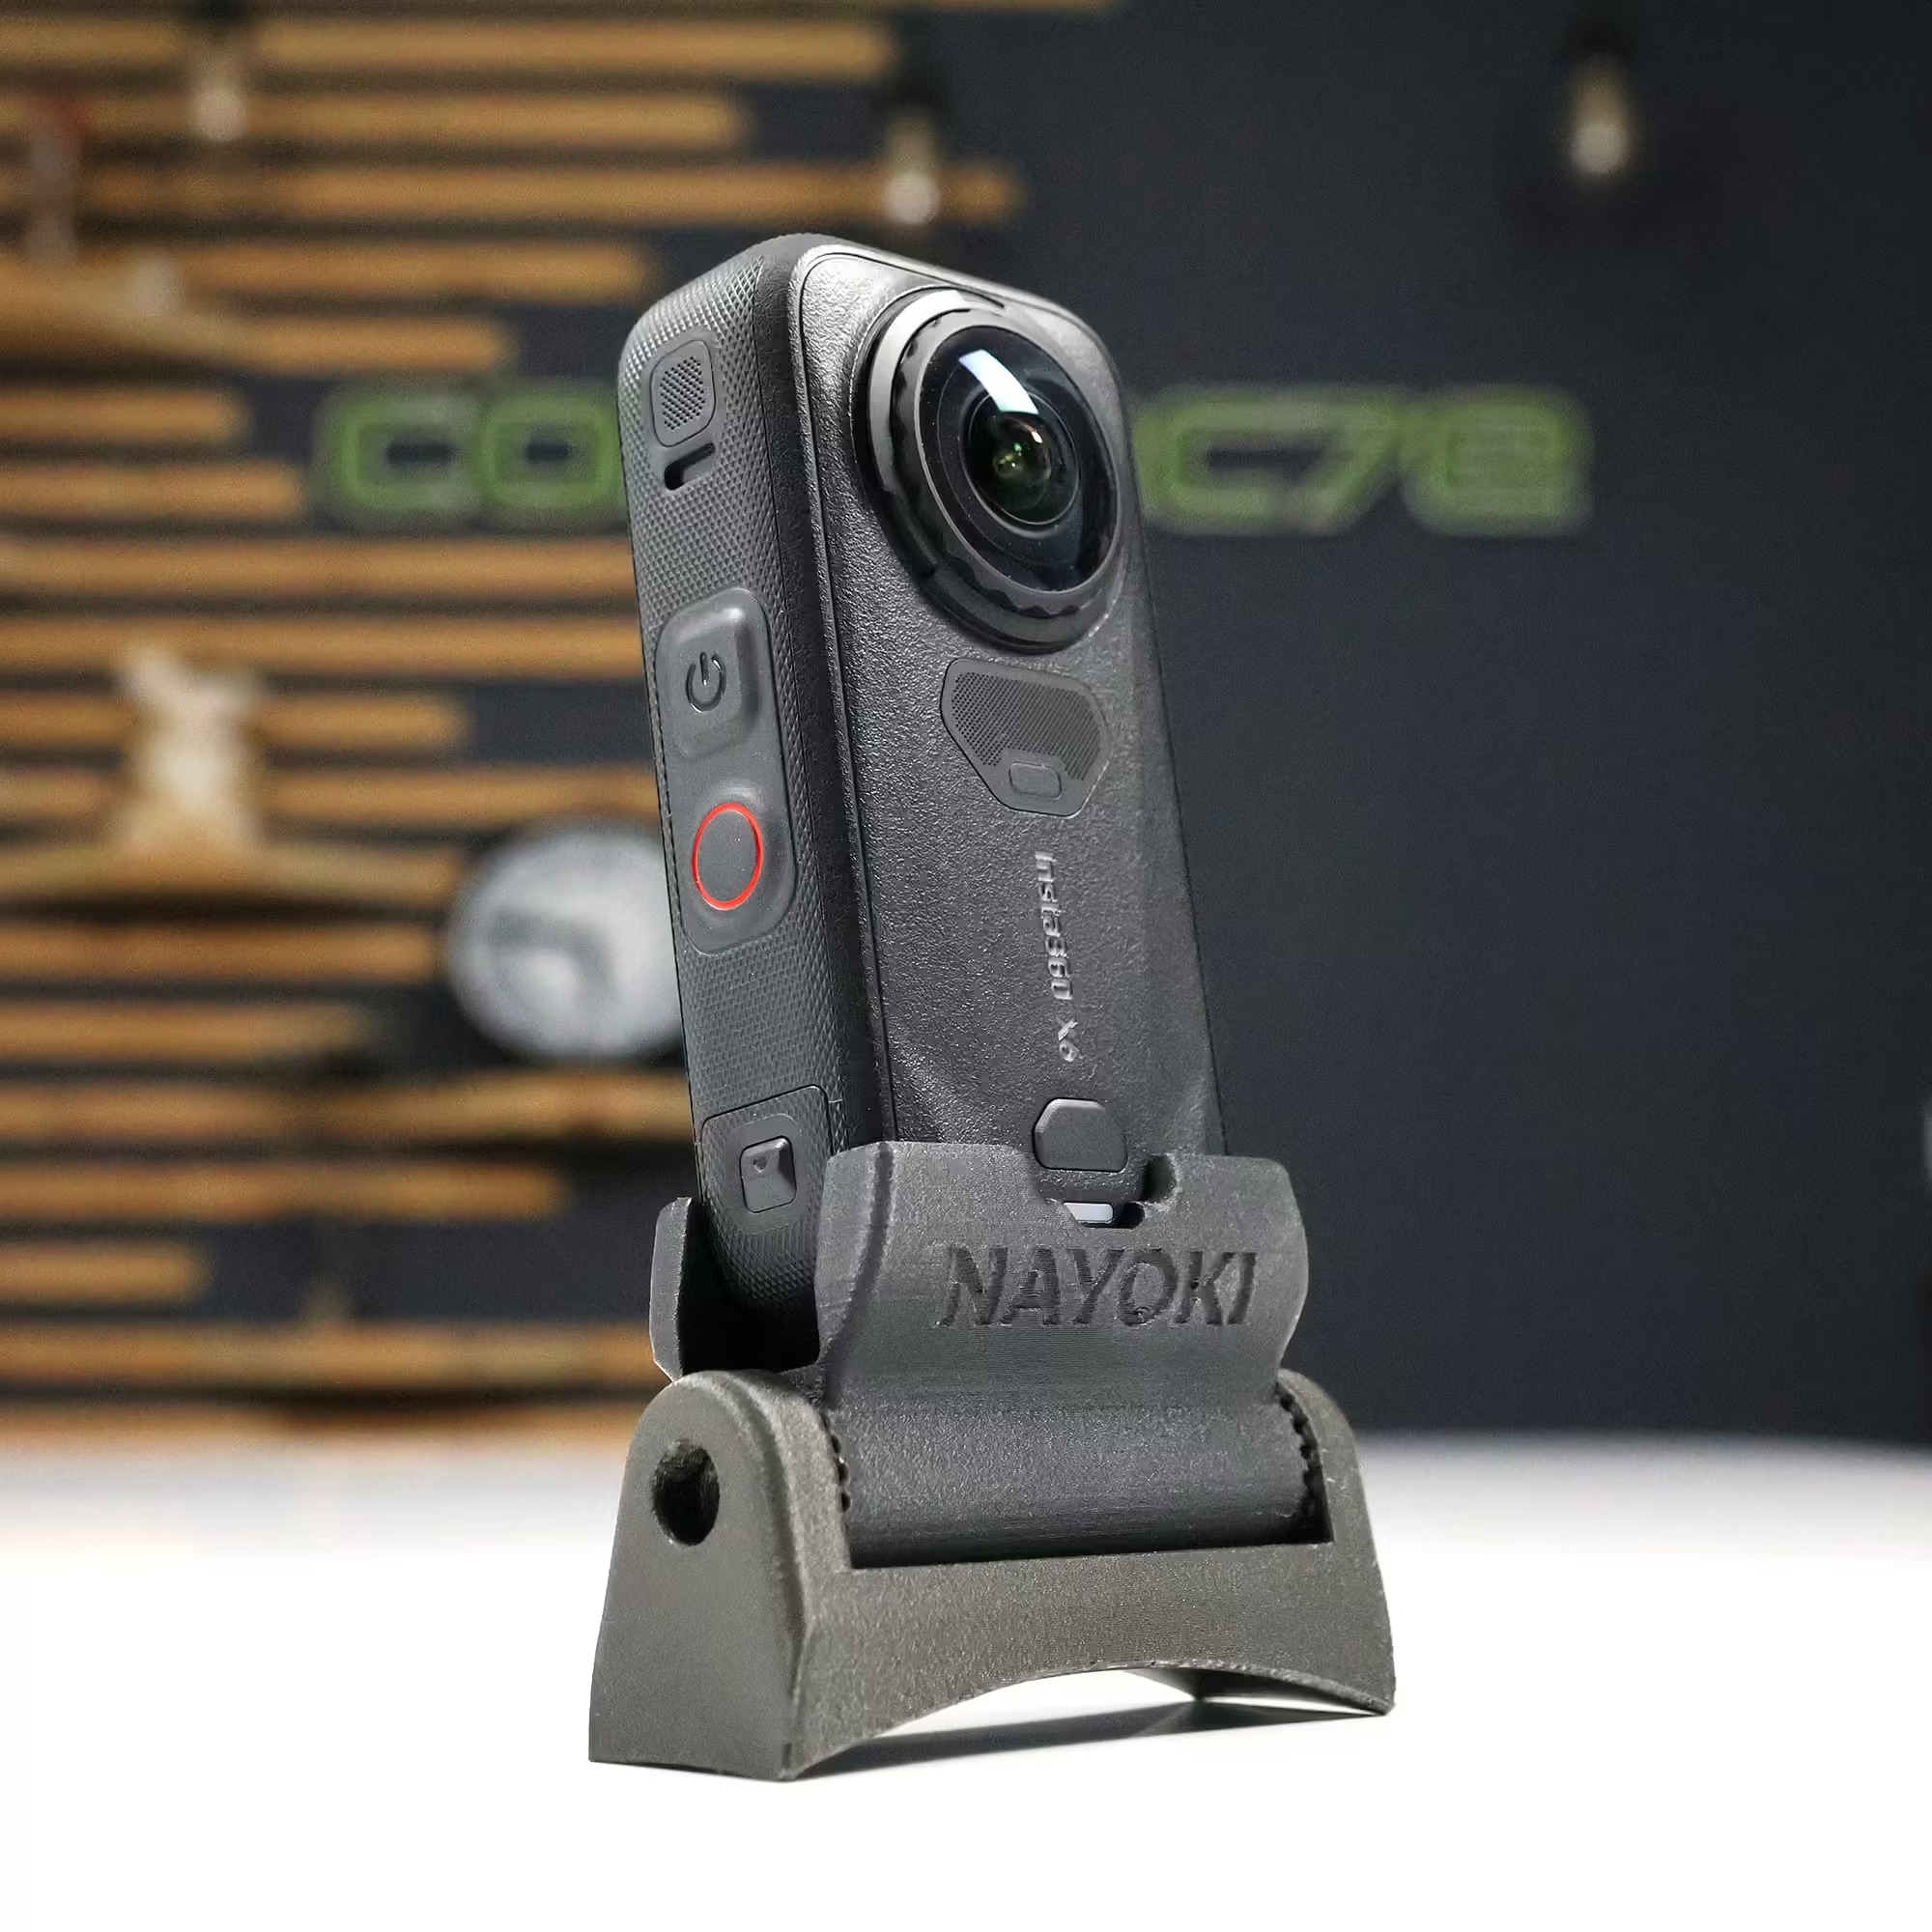
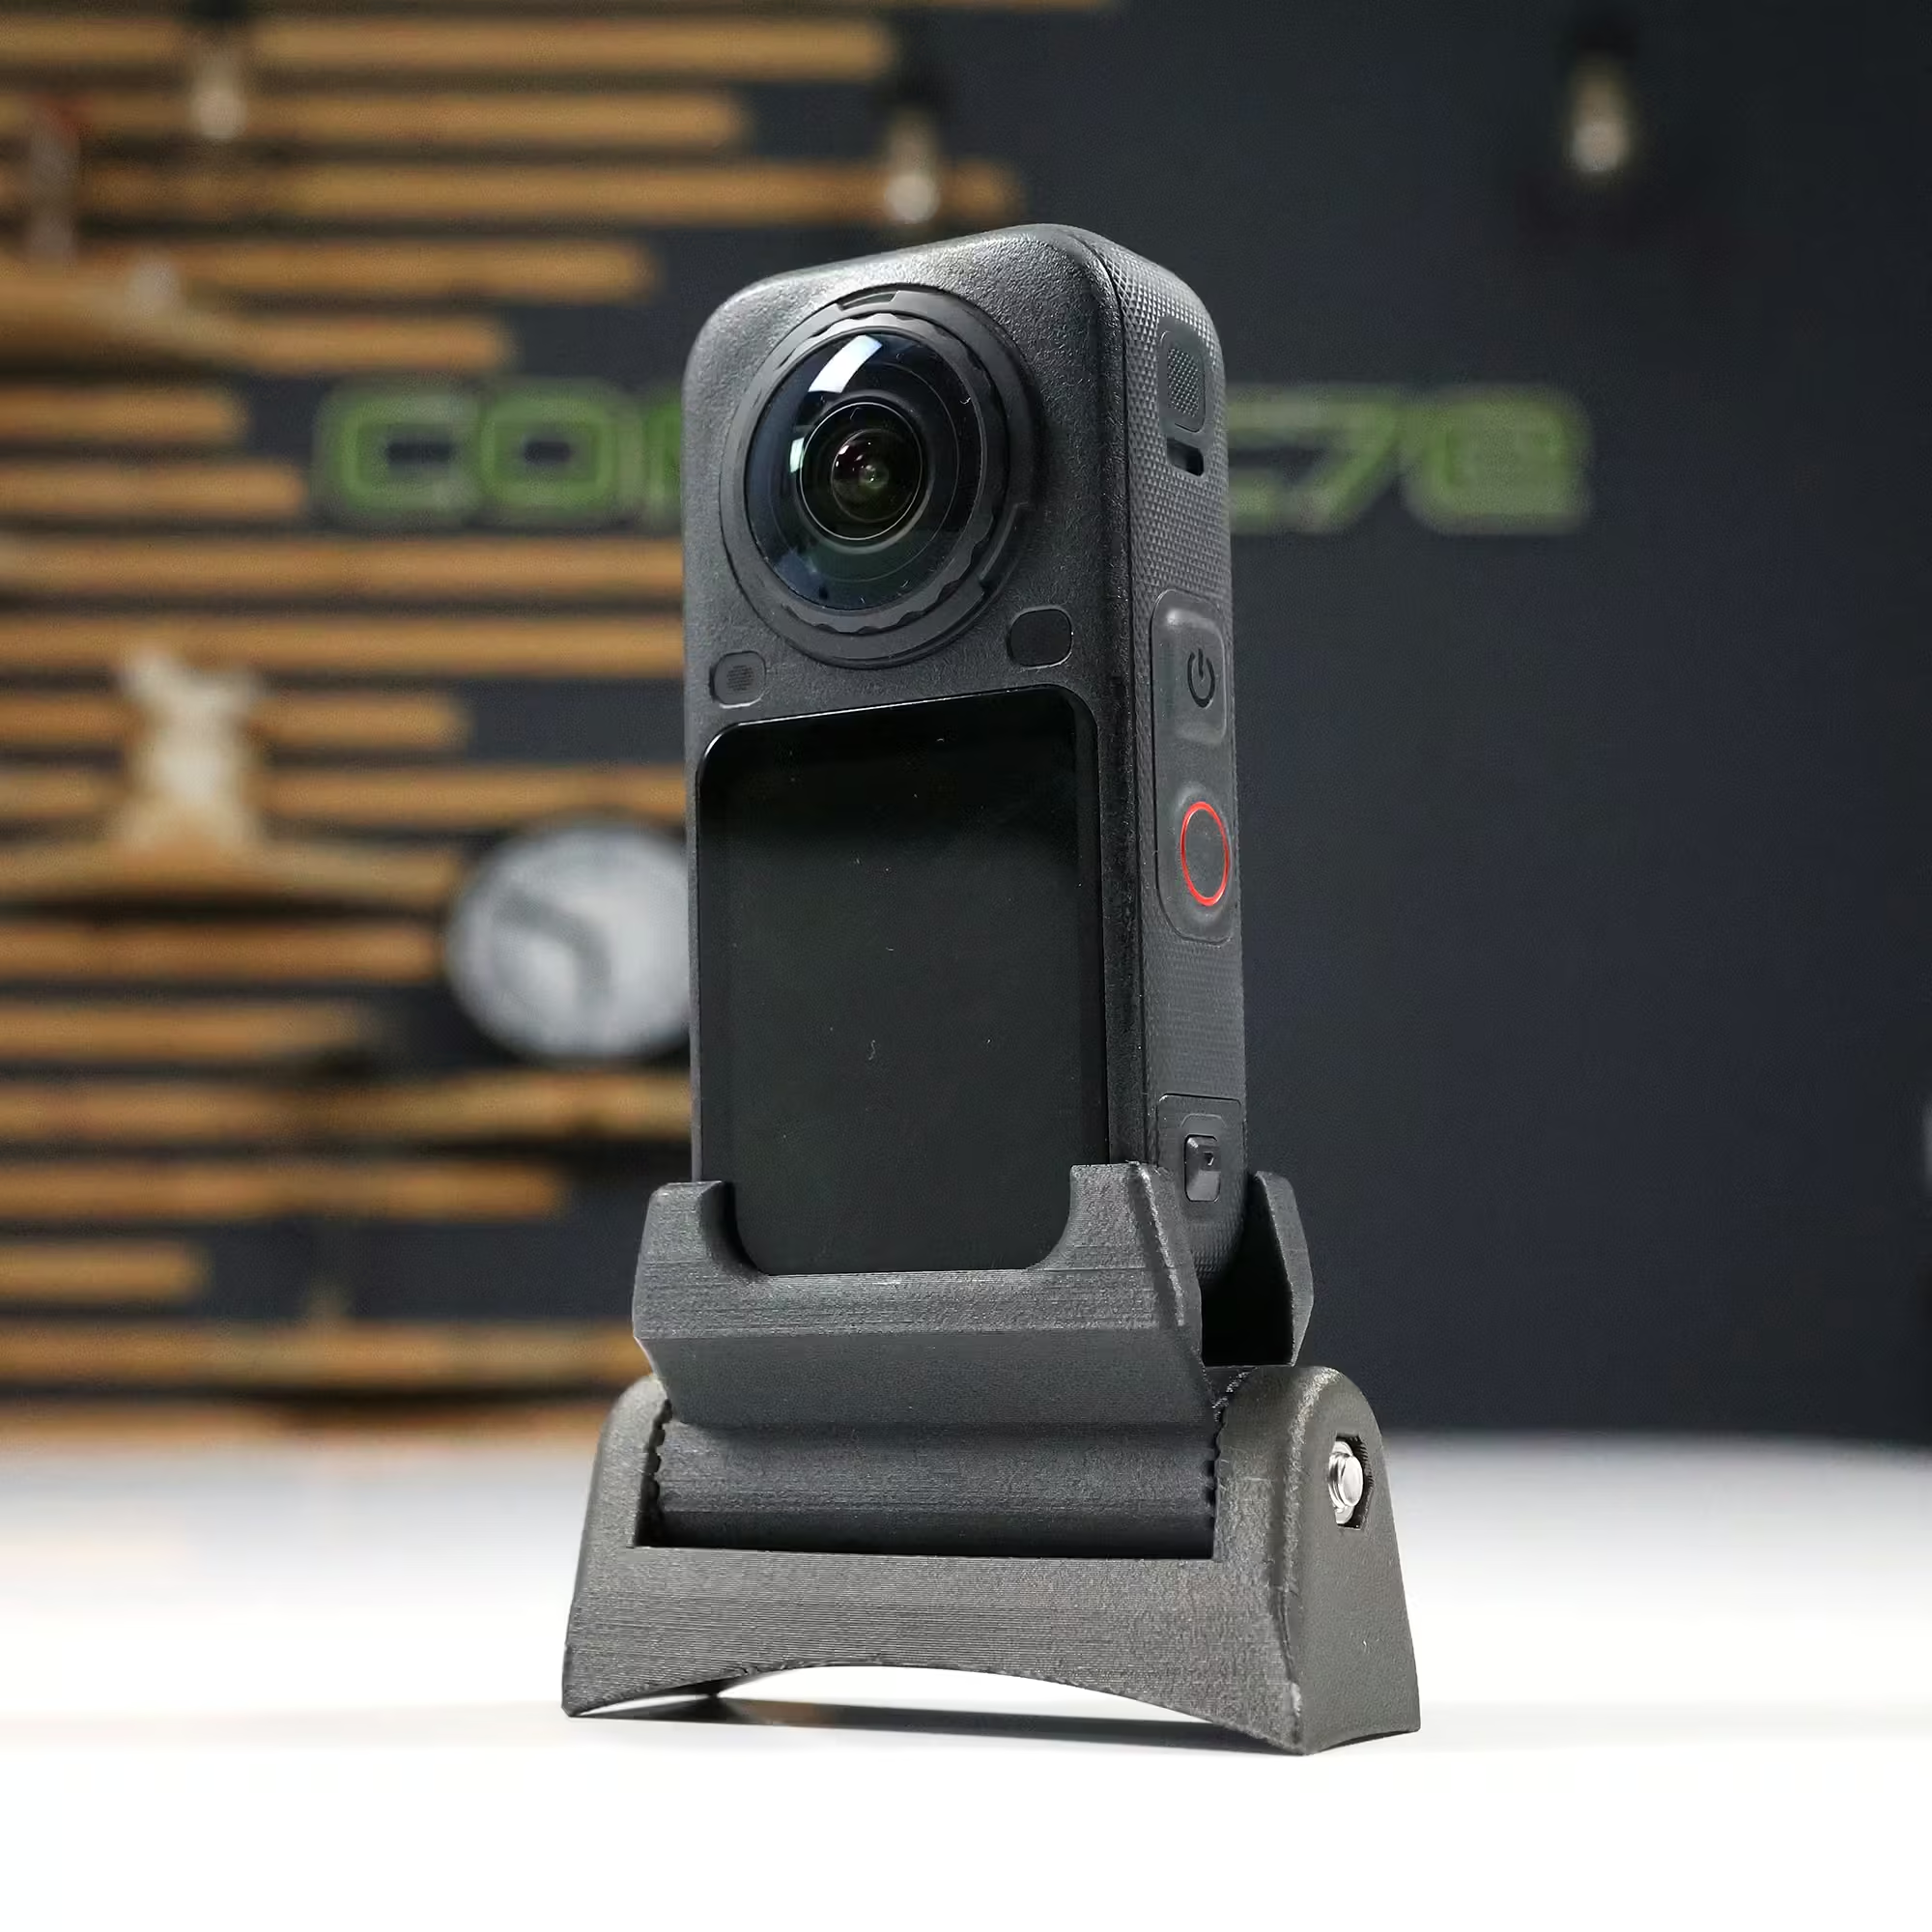
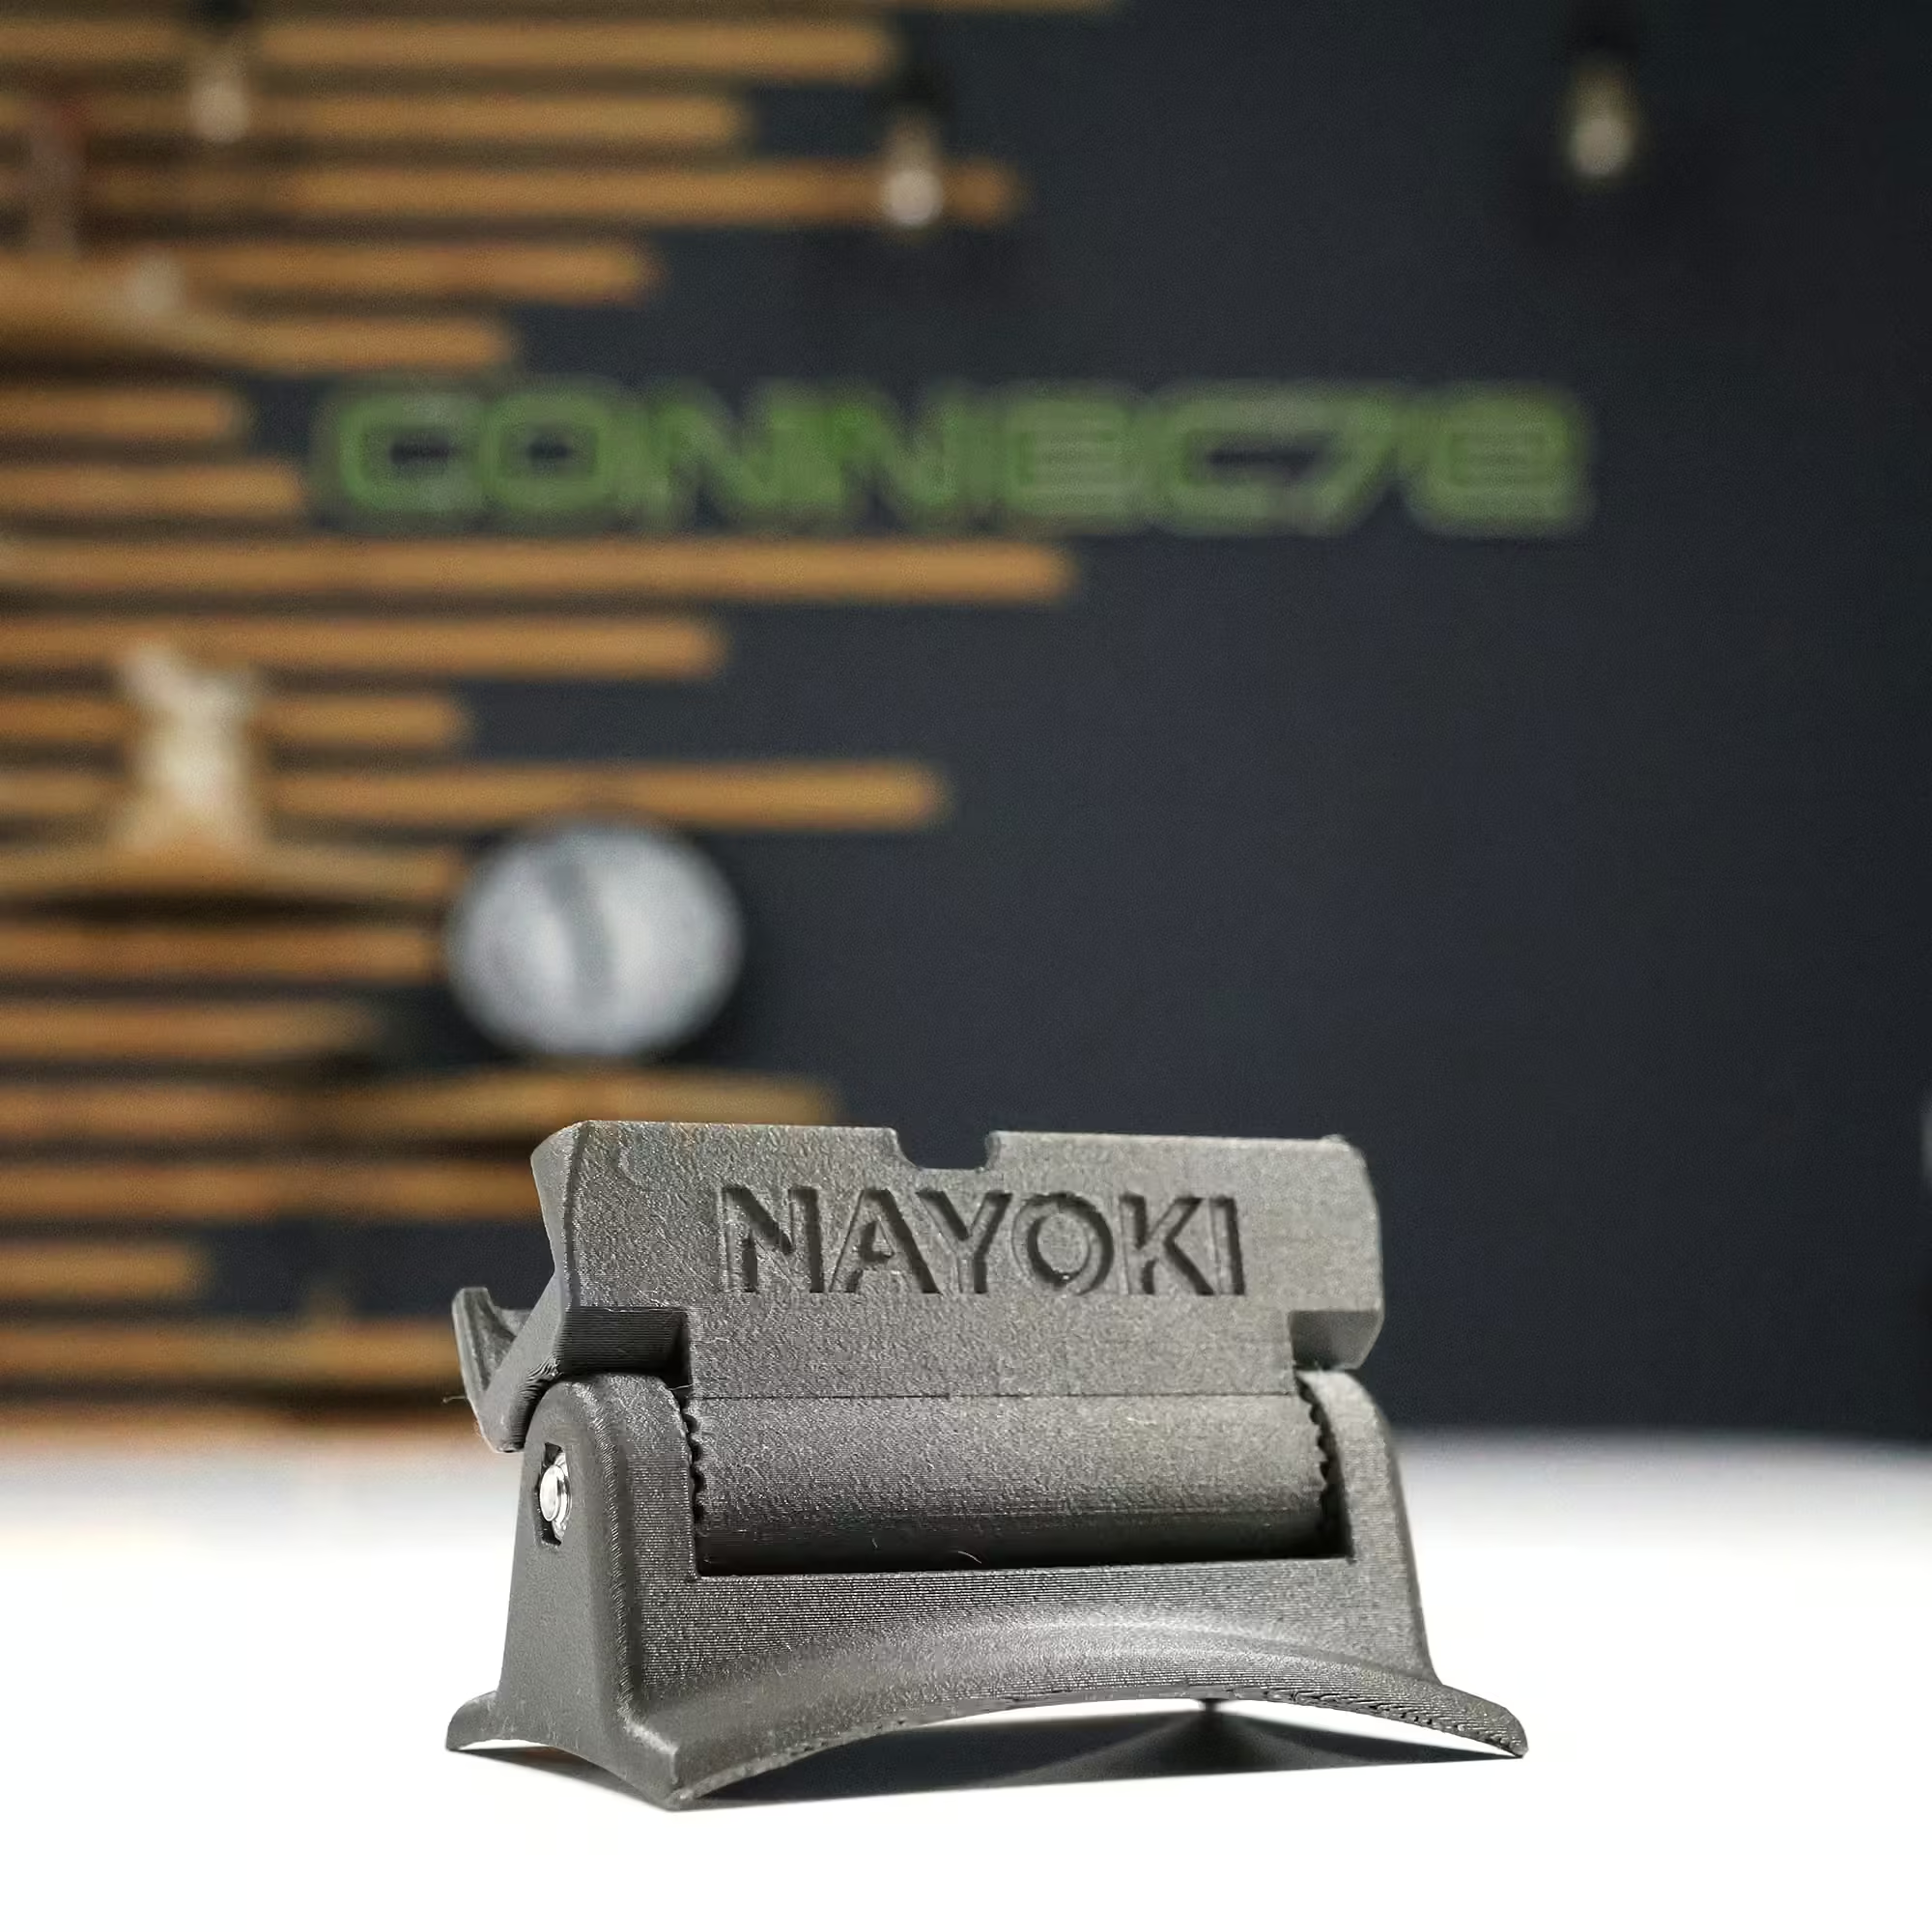
Are you looking for a universal camera mount for your skydiving helmet, without having to limit yourself to a single brand or helmet style? The Nayoki Universal Mount was developed to meet this need.
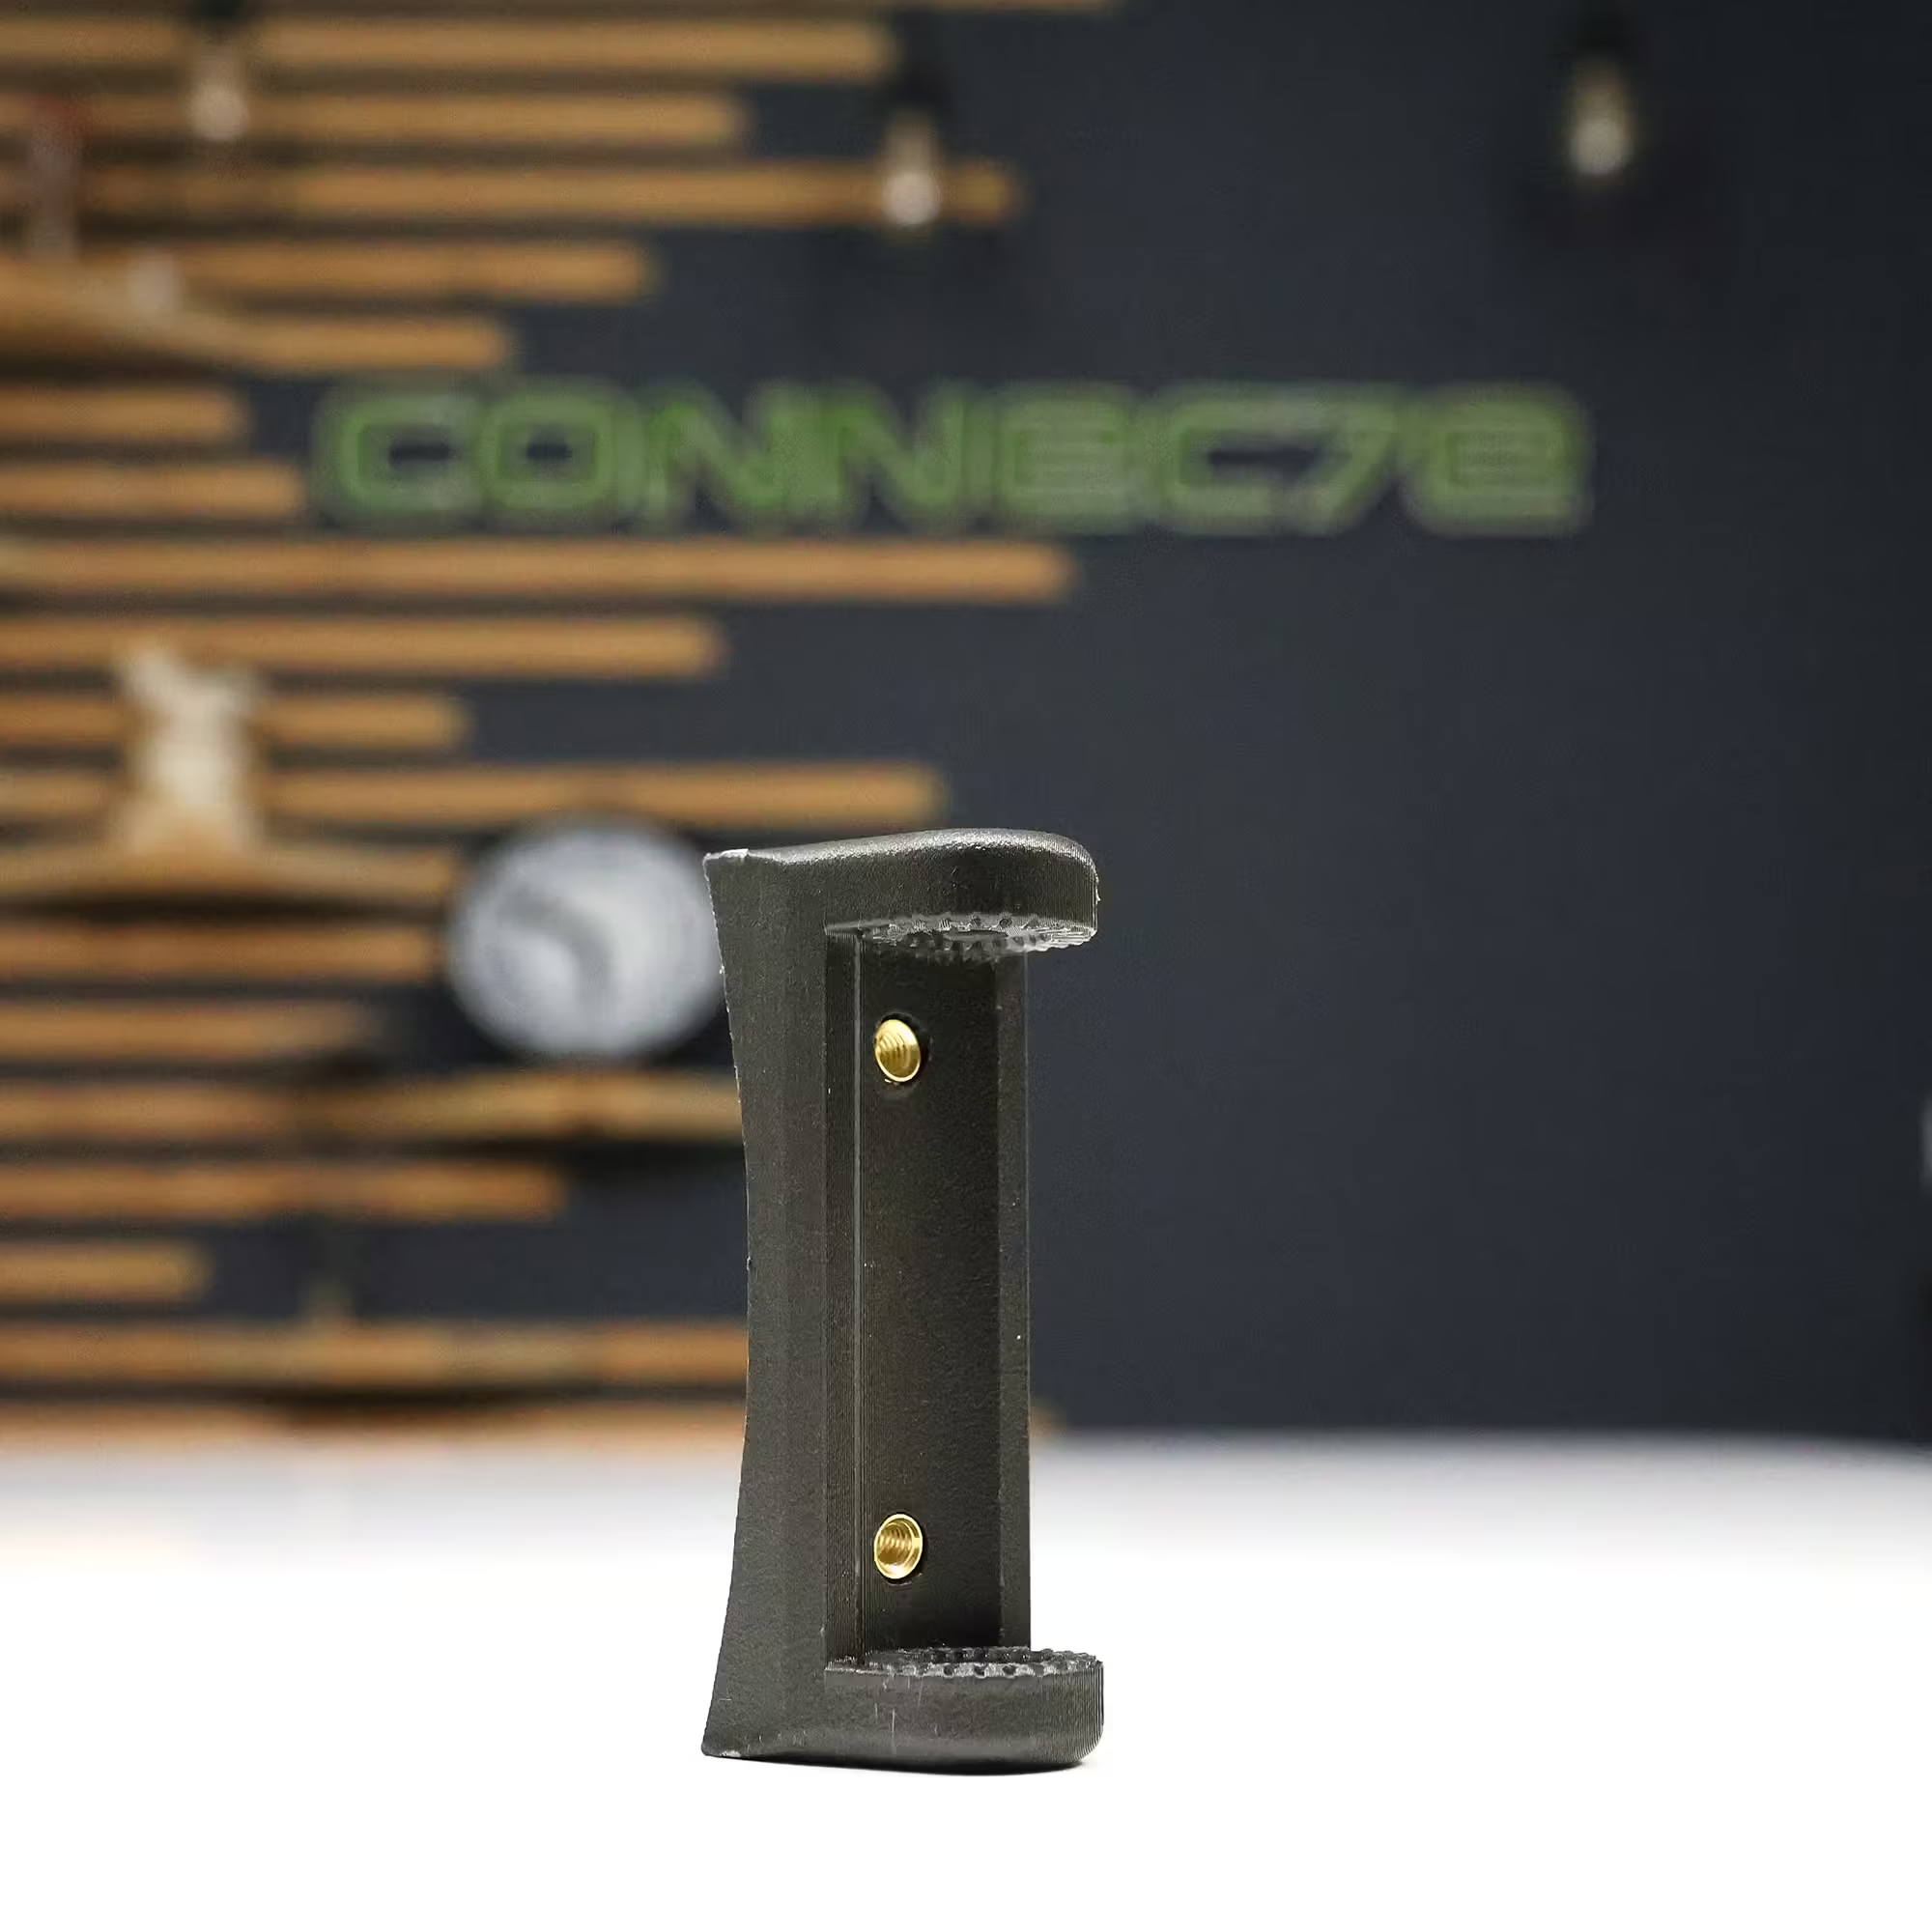
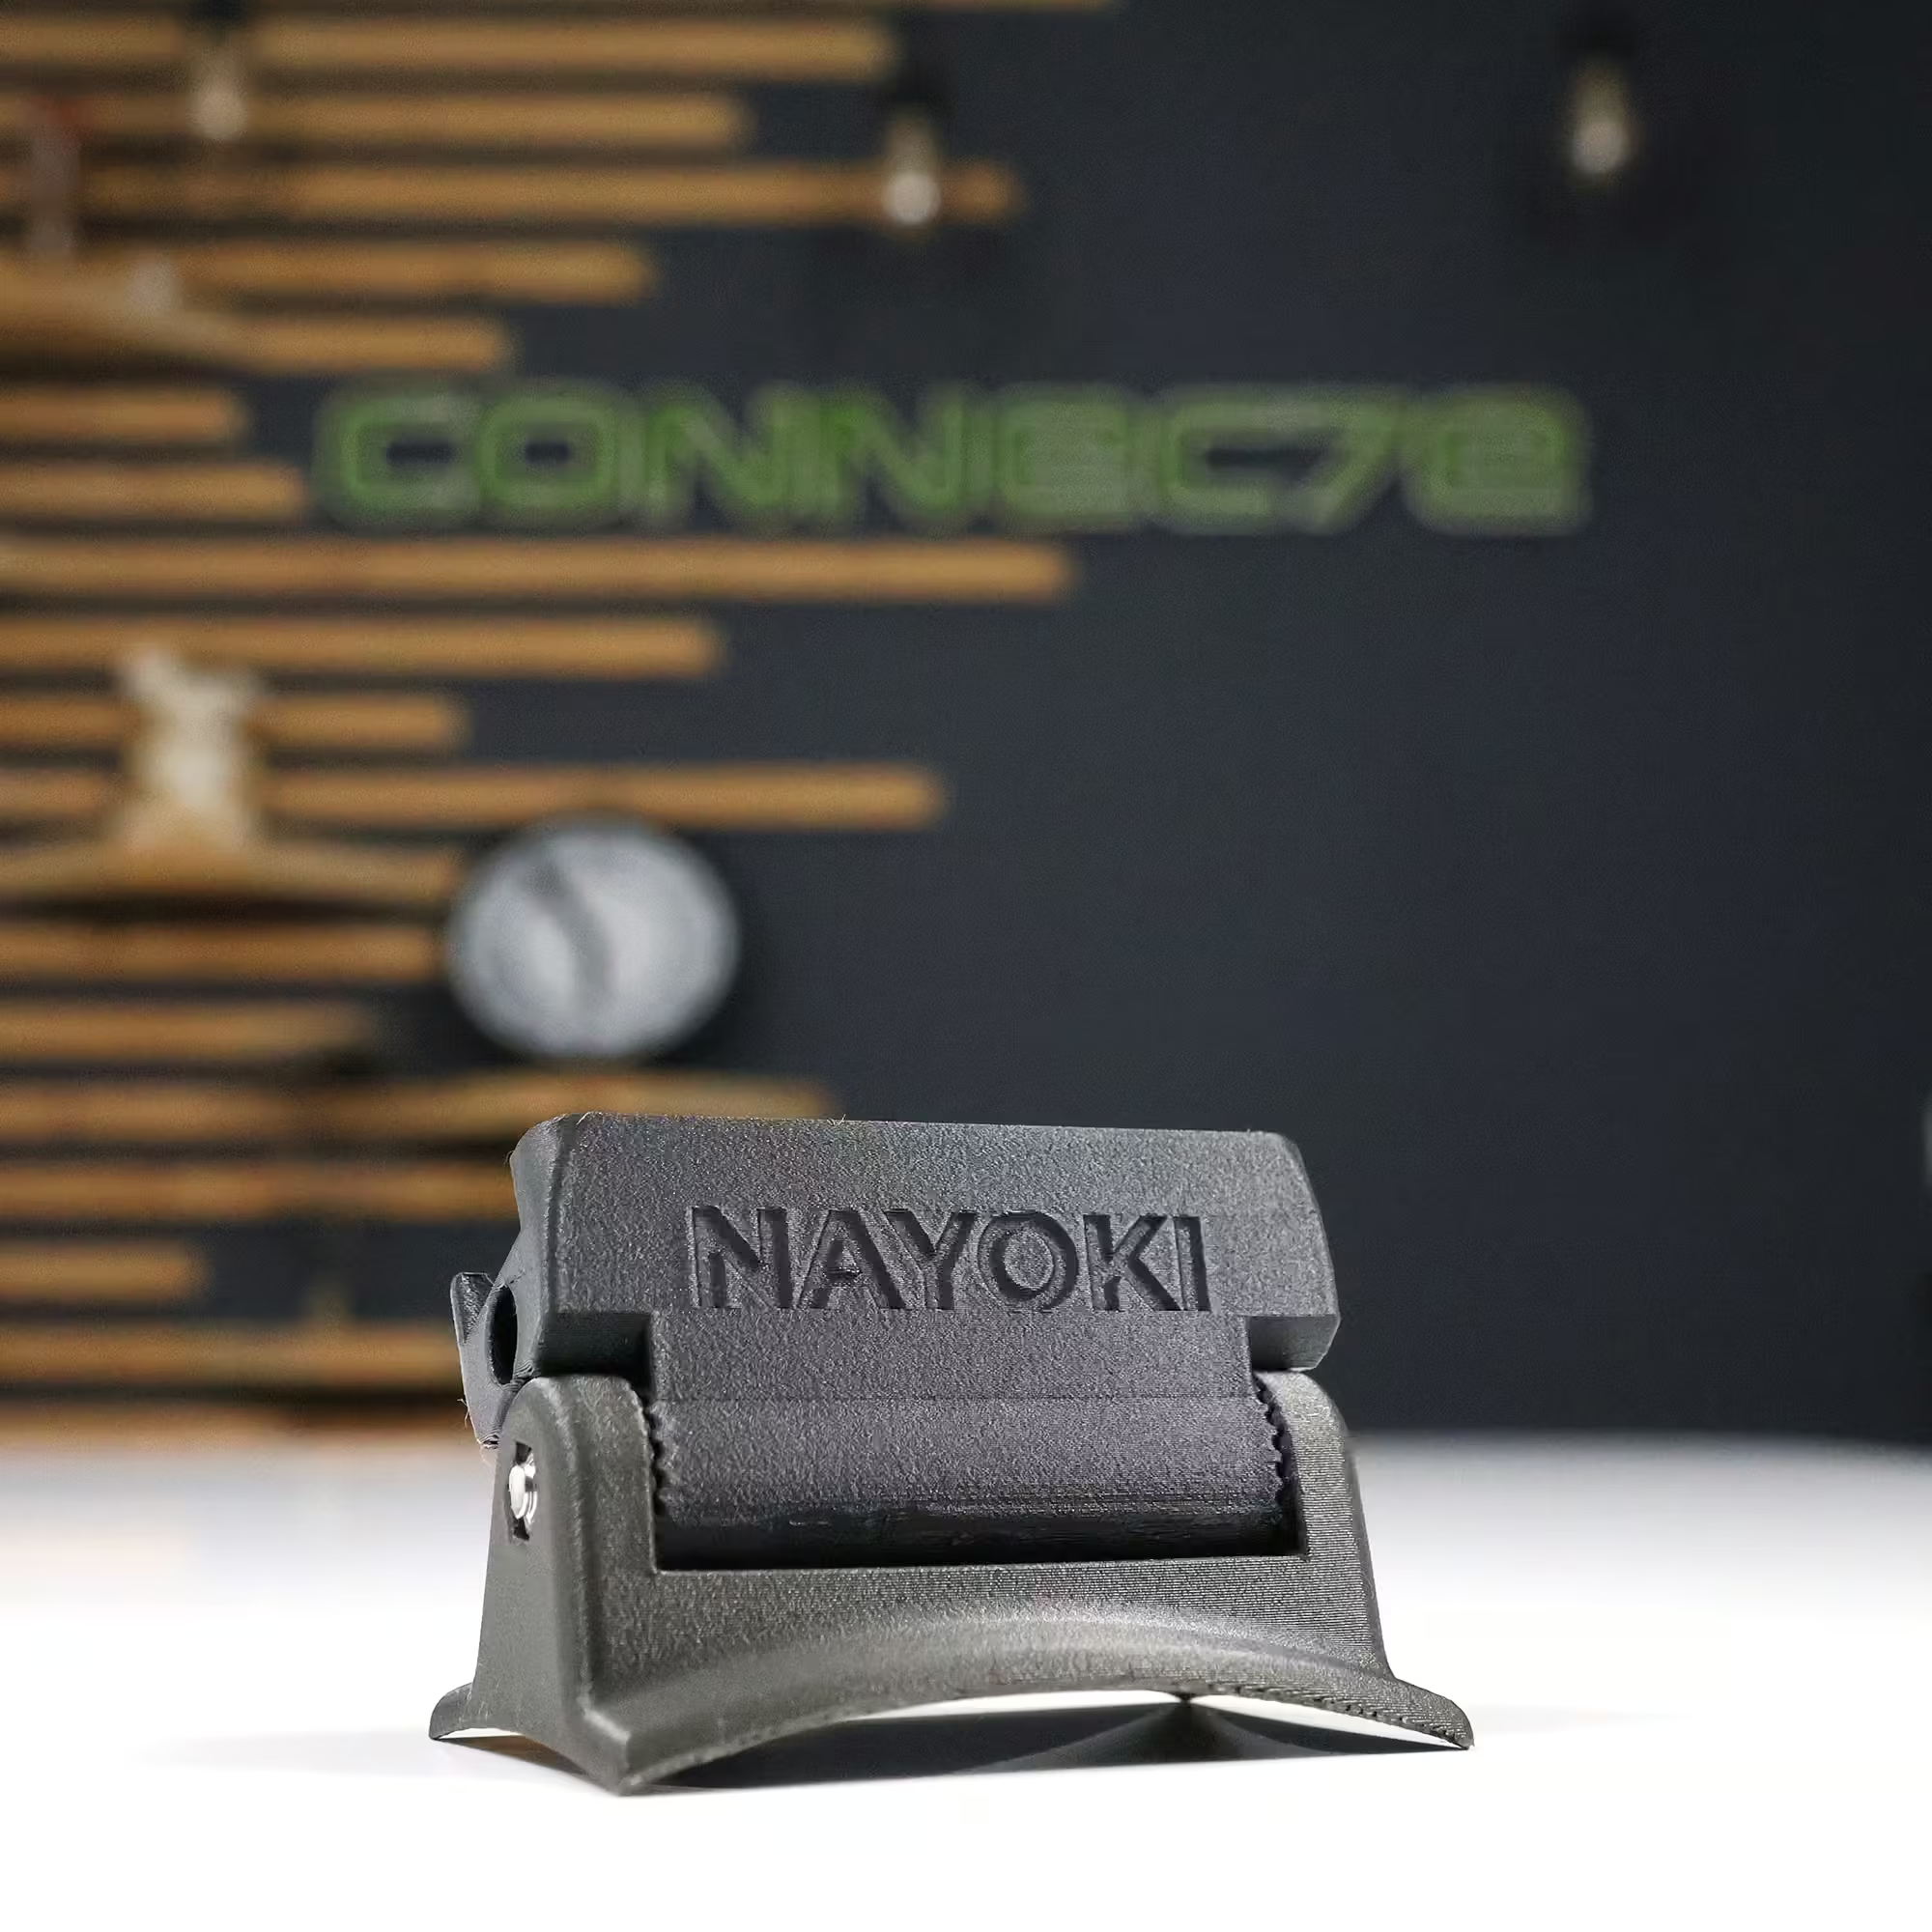
Thanks to its four basic geometries (Flat, S, M and L), this system adapts to different helmet curvatures. Choose the base that matches your helmet, then your attachment method: 3M VHB adhesive or reinforced screw fixing. Her modular architecture This then allows you to use the interface adapted to your Insta360, GoPro or DJI camera, depending on the variants offered.
Physical product ready to assemble, designed, printed, assembled and checked in my workshop in France, available in PETG or PETG-Carbon. Helmet not listed? One free paper template allows you to check compatibility in five minutes.
⚠️ Important: This version does not have an integrated release system. It is intended for helmets equipped with a suitable and operational release system, allowing the helmet/camera assembly to be released when necessary.
🧩 Base compatibility and selection
The support is available in four curvatures. These correspondences are based on radius gauge measurements taken on Cookie G3, Cookie G4, and Tonfly TFX helmets. They relate to the geometry of the base, not the presence of a release system.
📄 Download the compatibility template (PDF A4)
If in doubt, send me a photo of the template placed on your helmet.
| Helmet | Size / shell | Nayoki Base |
|---|---|---|
| Cookie G3 | All sizes | S |
| Cookie G35 | XL to 3XL | L |
| Cookie G4 | XS to L | L |
| Cookie G4 | XL to XXL | M |
| Tonfly TFX | Case 00 | M |
| Tonfly TFX | Shells 0 to 3 | L |
| Tonfly 2X | Flat top surface | Plate |
These letters refer to the curvature of the base, not the helmet size. An L base can fit a small helmet.
⚡ Features
- 4 bases: flat, S, M and L
- 2 mounting methods: adhesive or screwed
- Adhesive: 3M VHB 4991 tape, 2.3 mm, pre-applied
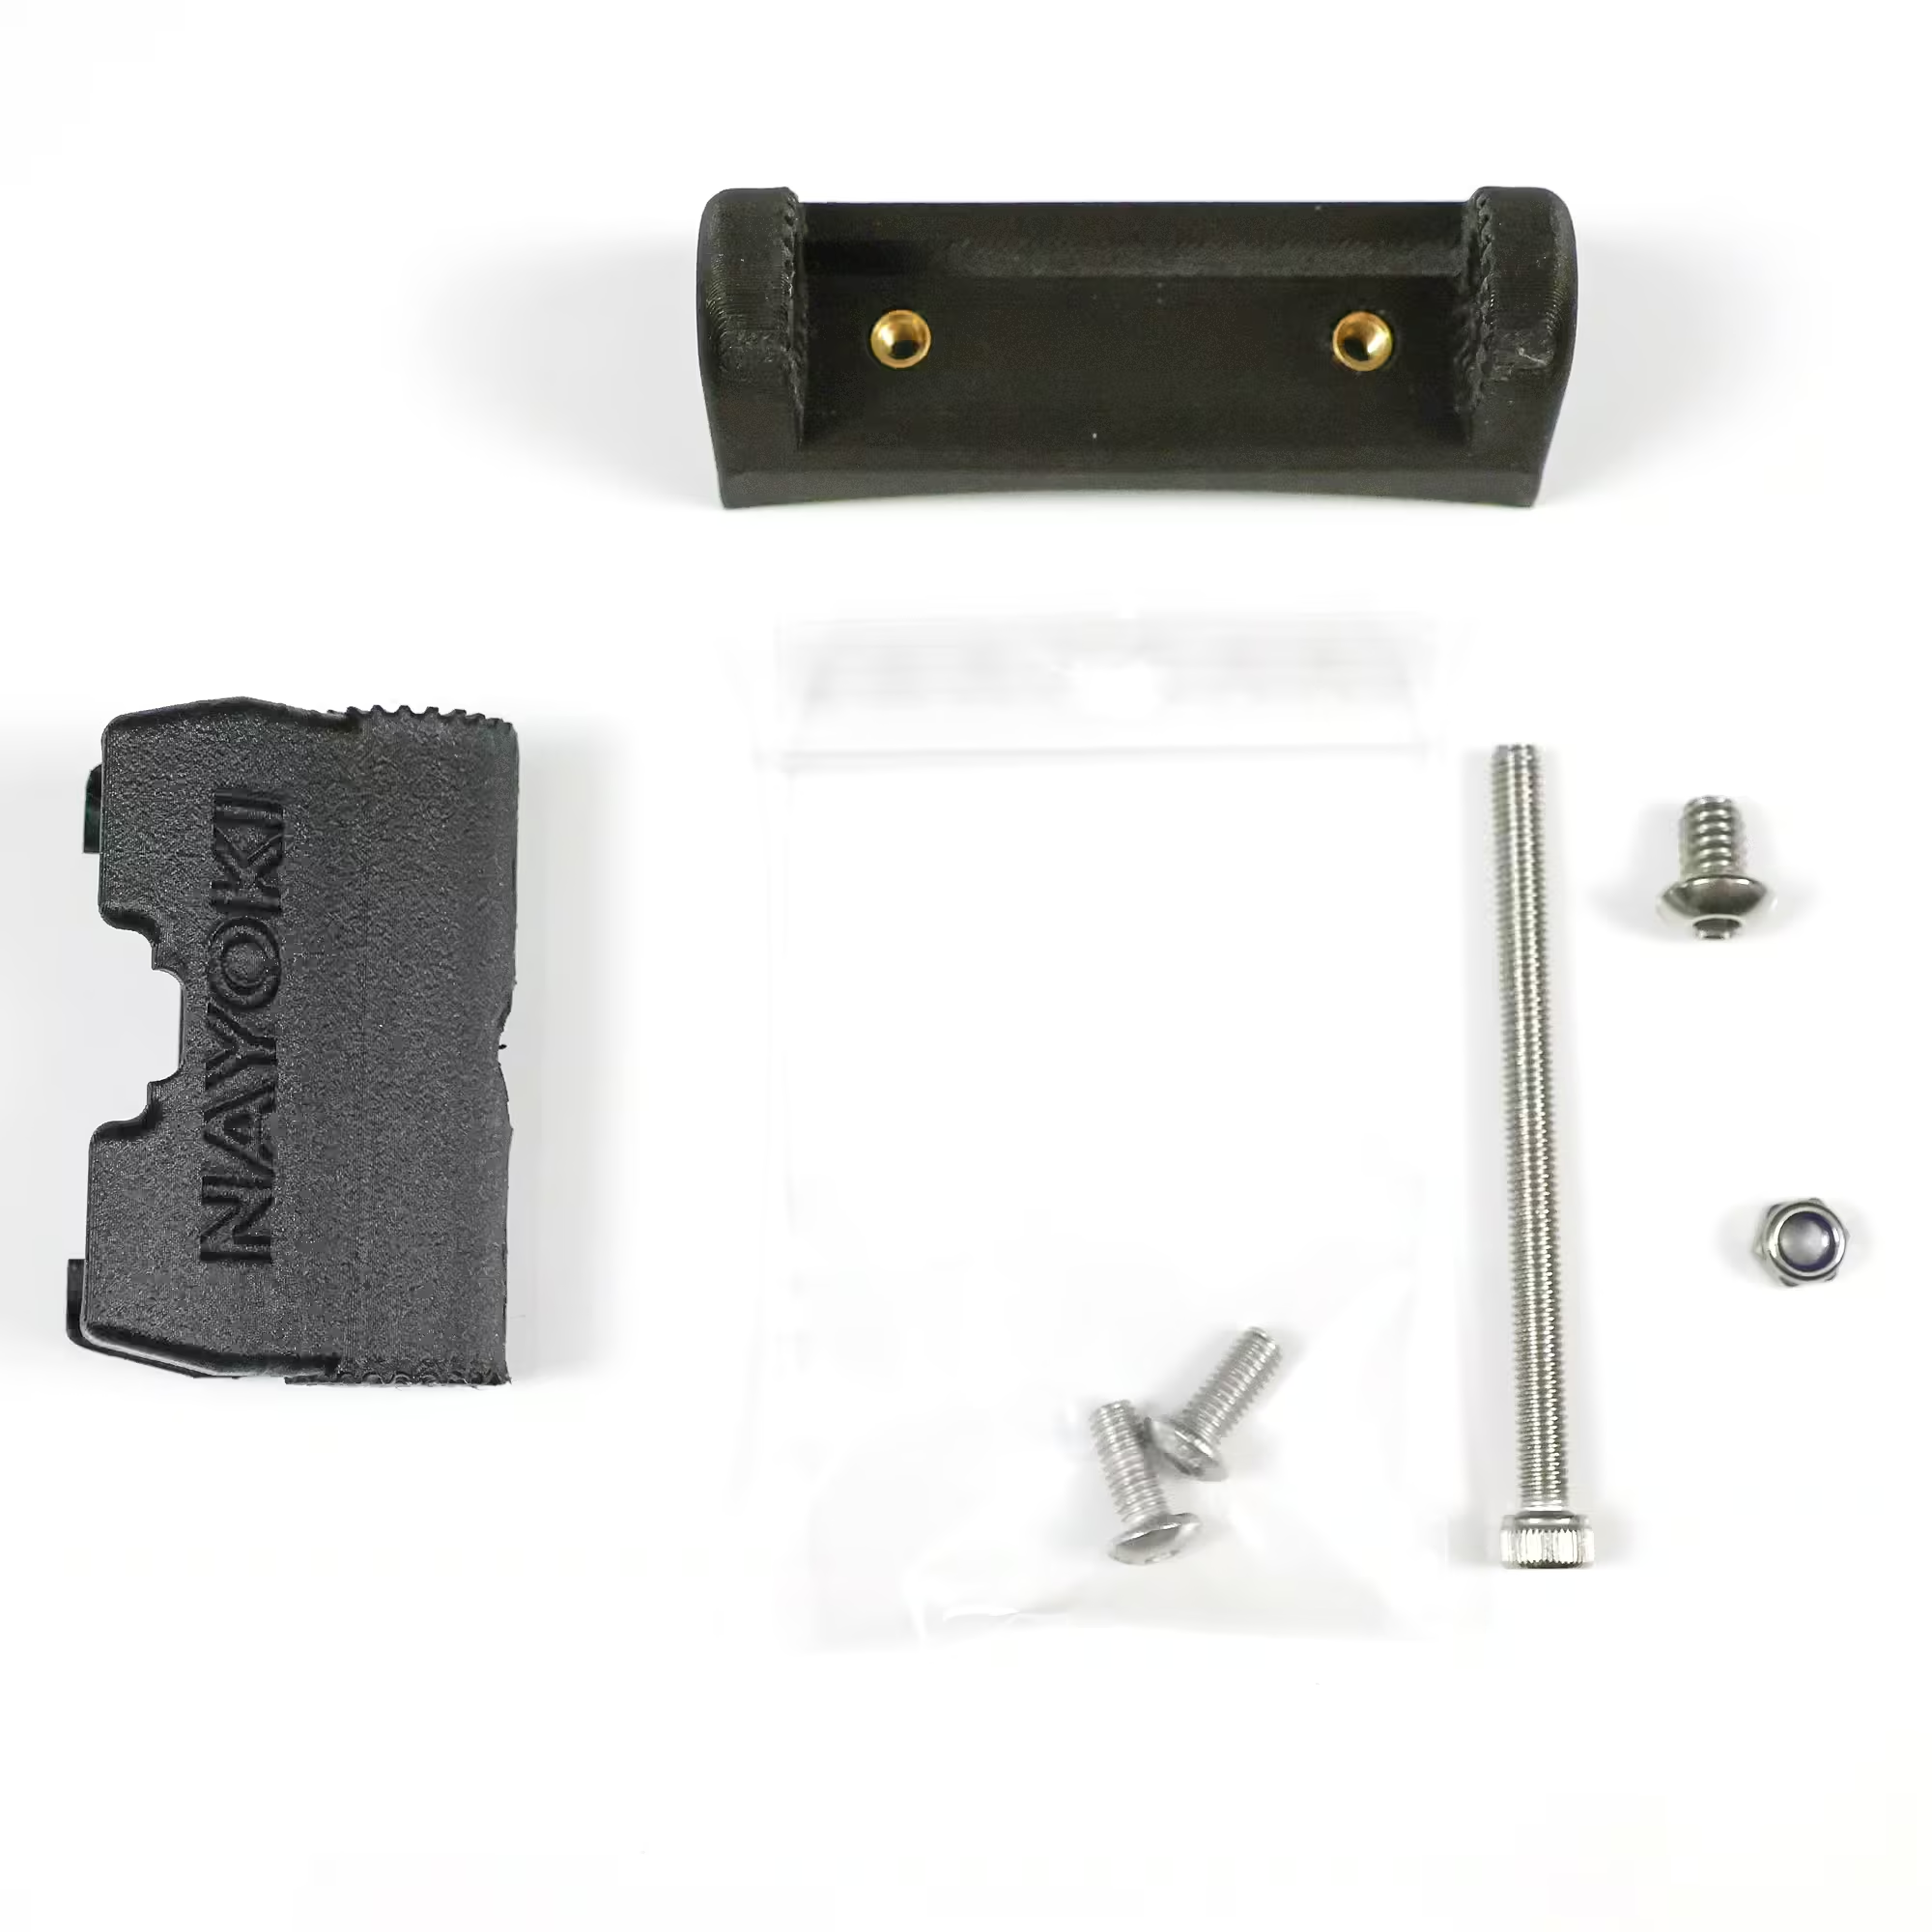
- Screw fixing: 2 M4 × 12 mm pan head screws in A2 stainless steel (designed for a 3 mm cap), integrated metal threaded inserts and 3M VHB interface
- Modular architecture: base according to the headset, interface according to the camera
- Compact geometry designed to limit snagging areas
- Professional 3D printing, in PETG or PETG-Carbon
- Made to order and quality controlled before shipment
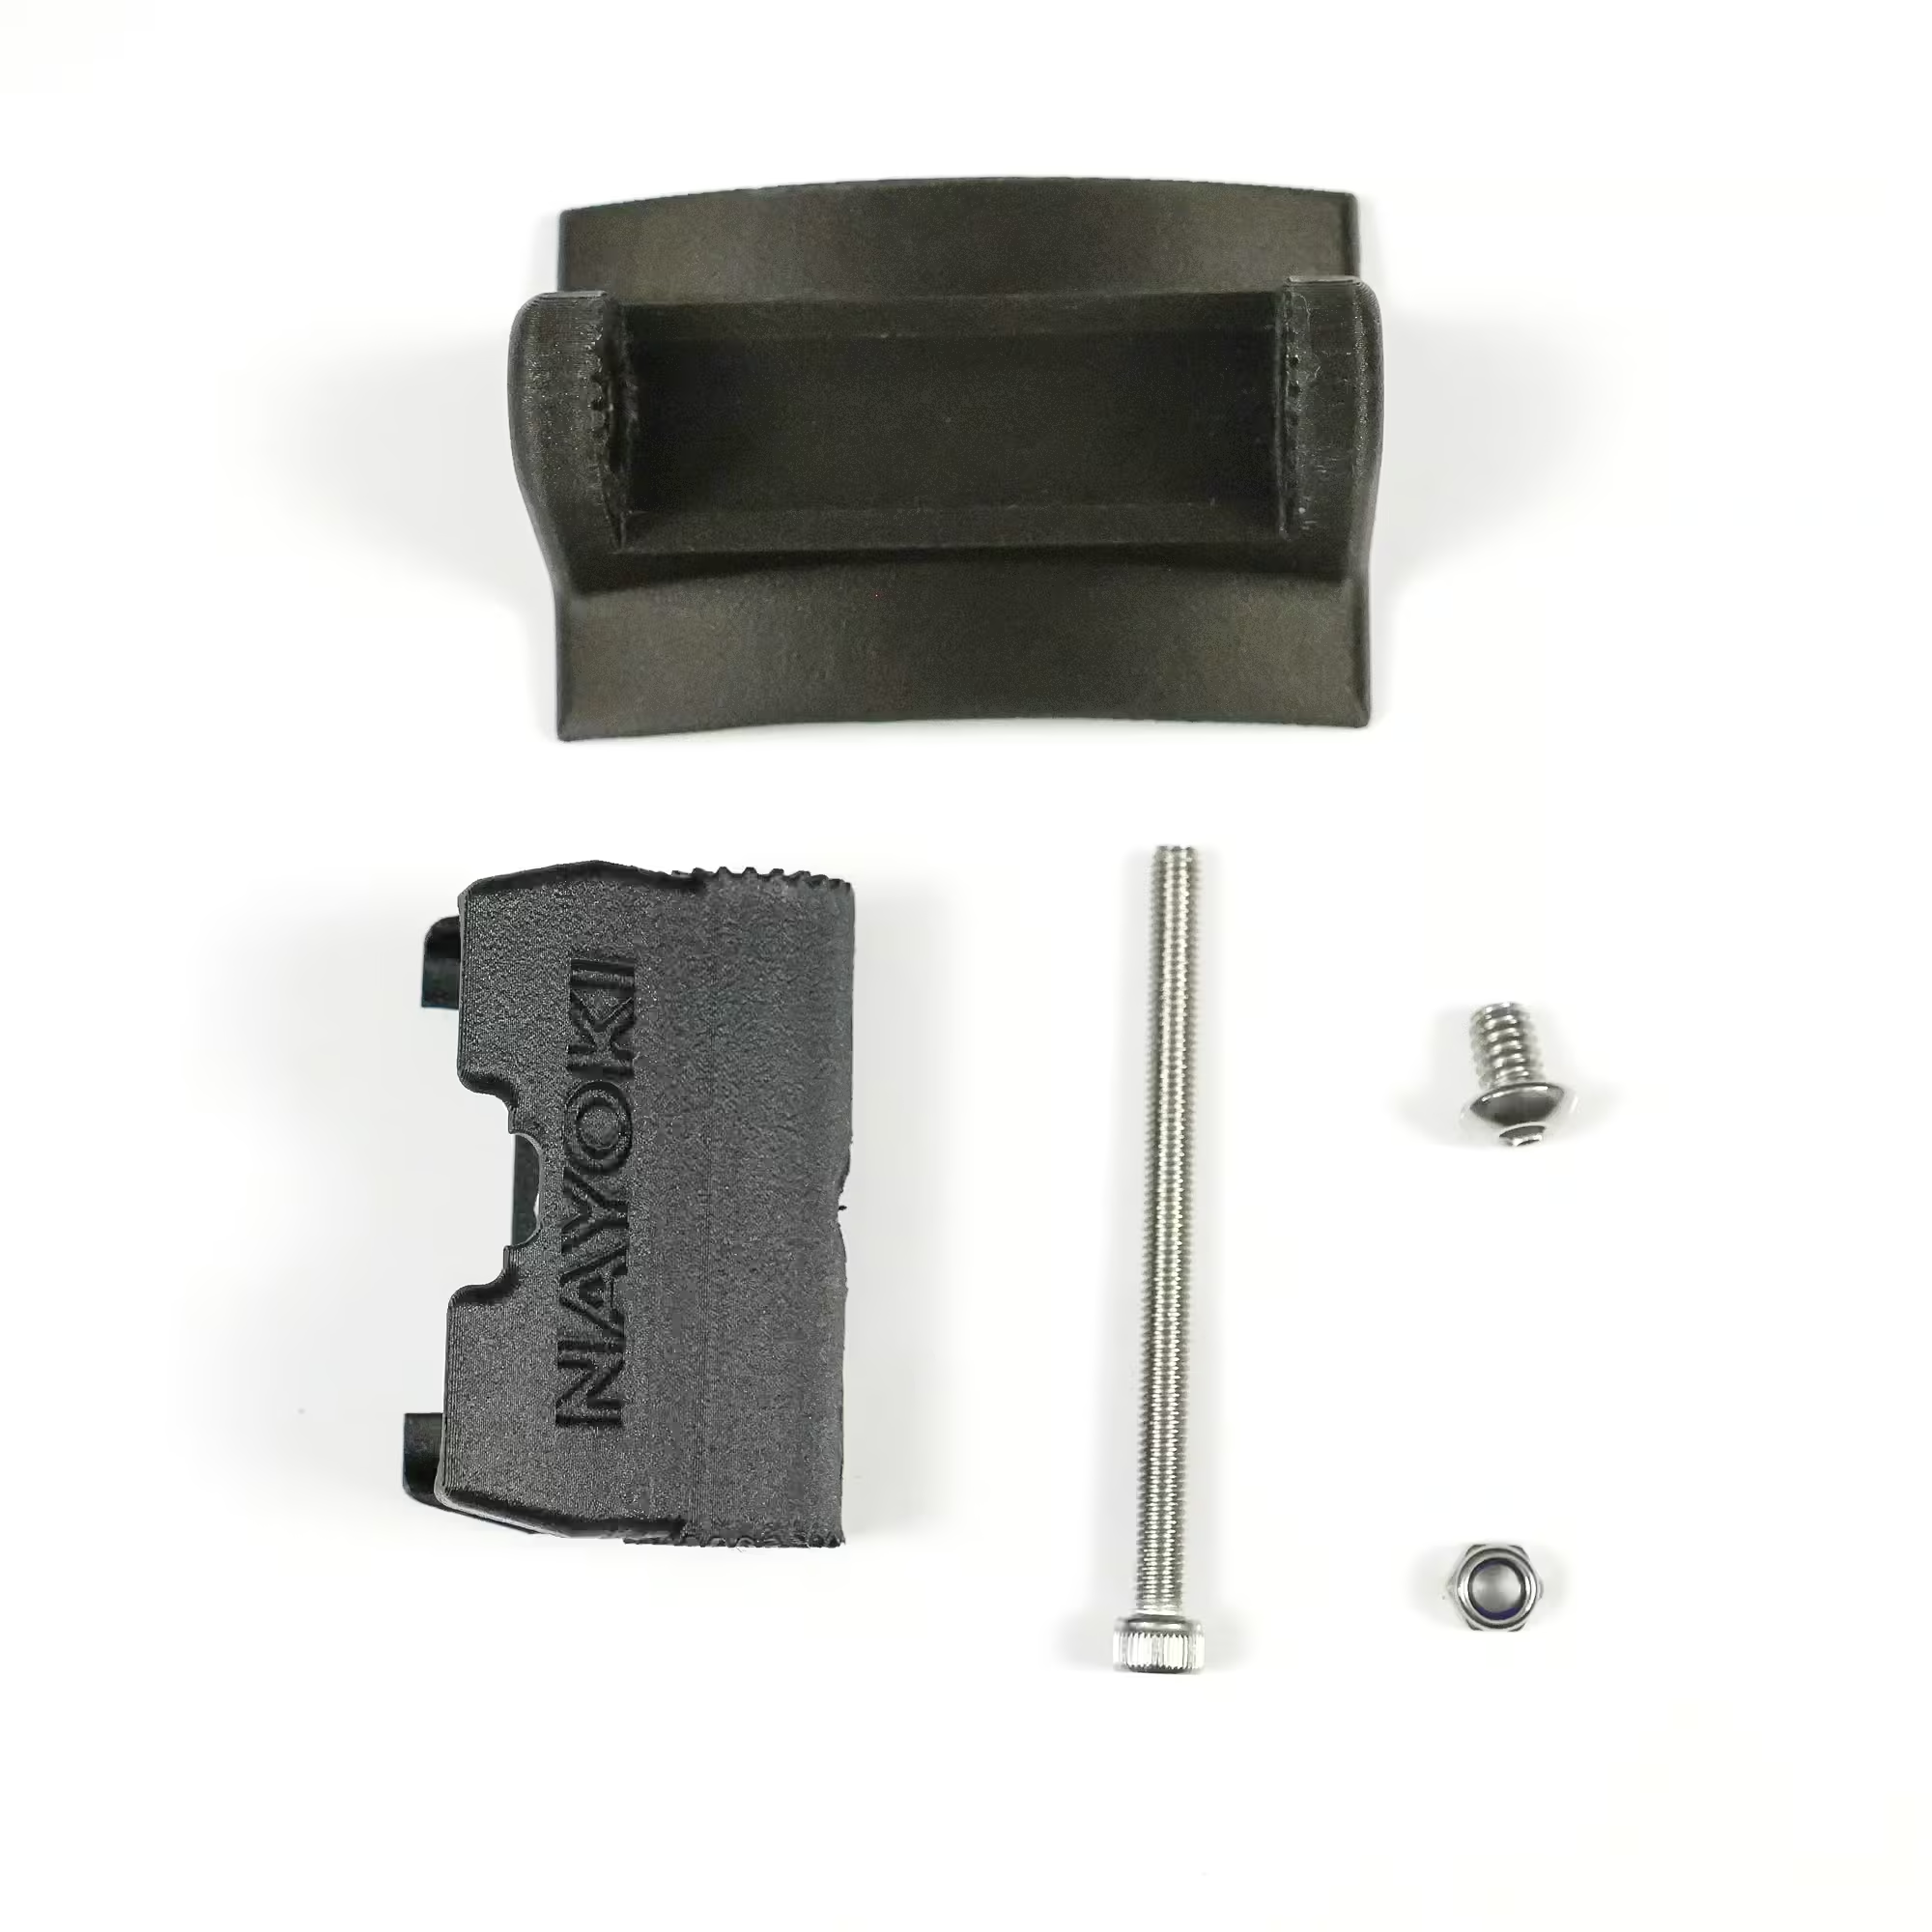
- Supplied with the fixing elements required for the ordered variant.
💡 Key Benefits
✔ Compatible with many helmets thanks to the four basic geometries
✔ Simplified choice with a correspondence table and a free PDF template
✔ Adhesive fixing for installation without drilling on a compatible surface
✔ Screw fixing with metal inserts and stainless steel screws for helmets that allow this mounting
✔ Modular architecture to change the camera without replacing the base
✔ Made in France with verification before shipment
✔ Finished product No STL file to print
📦 Materials
- PETG: a good compromise between mechanical strength, slight flexibility and resistance to temperature variations
- PETG-Carbon: Increased rigidity and a matte black finish, for a premium technical finish
🪛 Installation
Choose only a configuration that is compatible with your headset and authorized by its manufacturer.
Adhesive fixing:
- Check the curvature using the table or template.
- Choose a location that does not obstruct either the opening or the helmet release system.
- Clean the area with isopropyl alcohol and allow it to dry completely.
- Position the support, then apply firm and even pressure, ideally with a roller, from the center outwards.
- Glue between 15 and 35 °C and wait. 72 hours before the first jump.
Screw fixing:
- Check that your helmet allows this type of mechanical mounting.
- Measure the thickness of your skullcap. The screws provided (M4 × 12 mm) are designed for a cap of 3 mm, according to the rule: shell thickness + 9 mm. If your helmet shell has a different thickness, adjust the screw length accordingly. 10mm screws are available upon request: specify this in the order notes.
- Position the support with its 3M VHB interface.
- Tighten gradually, without exceeding 0.3 N·m, without deforming the cap.
- Check that the screws are properly engaged and that there is no protrusion on the inside.
After installation: Mount the camera interface, check each fixing and test the operation of the helmet release device with the assembly installed.
Always perform a complete check of the setup in a controlled environment before any use in jumping.
🧪 Resistance tests
The development is based on internal mechanical resistance tests.
A base PETG-Carbon glued to the helmet maintained a tensile load of 350 N for more than 60 seconds without detachment, then gave way beyond 480 N.
The force was applied at the height of an Insta360 X6, the tallest of the compatible cameras, and therefore the one offering the greatest lever arm: this is the most unfavorable configuration. With a more compact camera, the permissible force is greater.
These results describe the assemblies actually tested. Resistance varies depending on the helmet, its surface condition, the material, the direction of the force, and the installation conditions.
Internal testing does not constitute approval or a guarantee of identical performance across all configurations.
🪂 Security and release system
This version does not have an integrated release system. It is intended for helmets equipped with a suitable and operational release system.
In France, the technical directive DT 52 of the FFP For this type of mounting, a helmet equipped with a release system is required. Check the applicable rules in your country and the instructions of your center.
The presence of a helmet in the compatibility table does not guarantee that it has the required release system. Each configuration must be checked individually.
The geometry of the support was studied to reduce areas likely to retain a suspension cable, without eliminating all the risks of snagging related to an on-board camera.
Before each use:
- Check the overall condition of the mount and the camera.
- Check the fixings and screws.
- Examine areas that may present a risk of snagging.
- Make sure the release mechanism works with the installed assembly.
The assembly and use of the stand remain your responsibility.
Created by Connec7e
Designed, developed and manufactured by Connec7e under the brand Nayoki, in my French workshop dedicated to skydiving, 3D printing and functional design.
Fall. Get back up. Create.
Camera and skydiving helmet not included.
Reviews